I was planning to give this post the title '10 Must-have Items for New Parents', but as I was writing it I kept thinking of other things I couldn't live without (OK, slight exaggeration - we could have lived without them but they made life a whole lot easier!), so the list is 14 items long.
Here, in no particular order, is my list of items to make life with a new baby much easier (I've added a few links to help you find items easily online!):
1. The Right Nappies
We settled on Pampers after having major leaks with Huggies and a supermarket brand. I'm sure it can't be that Huggies aren't as good, because they keep winning 'Nappy of the Year', so I've come to the conclusion that certain nappies fit certain babies better than others. Therefore, I recommend trying a few different brands to see what fits your baby best - you normally get a few different free samples in your Bounty pack (people with babies will know what this is, but for those that dont, Bounty give a pack of freebies to pregnant women at various stages of their pregnancy!)
2. Value Nappy Sacks (16p for 100 from Sainsbury's)
After buying some more expensive sacks we realised that no matter how much money you spend, a nappy sack is a nappy sack! We bought some biodegradable ones once because that's all the shop had, and I was baffled - why would you want a biodegradable sack when the contents of the sack aren't biodegradable?? Anyway, I bought 10 packs of the Sainsbury's value nappy sacks when they were only 9p per 100, but now they've gone up to 16p - still a bargain though!
3. Sangenic Nappy Bin (£9.99 from Mothercare)
After my 1000 nappy sack purchase we heard about the
Sangenic Nappy Bin from some friends of ours and decided to buy one while they were on offer in Mothercare (I'm still getting through the sacks when we're out and about so I dont feel too bad!). The bin is brilliant, it makes a string of nappy sausages by twisting the nappies in a tunnel of plastic, sealing in the smell. The canisters that go inside it aren't amazingly cheap, but they're occasionally on offer if you shop around.
4. Sleeping Bag
Natalie is a bit of a blanket cycler, which means that when she has a blanket on top of her she tends to use bicycle legs to remove it! For this reason we found the
baby sleeping bag a bit of a life-saver as she would wake up in the night cold from kicking off her blankets, but with the sleeping bag on this wasn't an issue at all! We'd definitely recommend getting a few so that while one is being washed you have a spare.
5. Tippitoes Bath (£11.95 from Amazon)
We tried using a basic baby bath initially, but found that Natalie hated bathtime because we were a bit awkward at holding her so that she didn't slip under the water. Then a couple of friends introduced me to the
tippitoes bath which is shaped in a way that means the baby can just lie back and enjoy the bath without being held! Since getting it bathtime has been a lot more enjoyable.
6. Bath Thermometer
Another thing that helped Natalie enjoy her baths more was a
bath thermometer! Before we had one we were making the water too cold and she hated it (despite the elbow test telling us that the bath was a perfect temperature!), but since upping the temperature a bit she's much more comfortable.
7. Bottles
We realised a slight con from the bottle companies - they make small 4oz bottles and also
bigger 9oz bottles, along with a variety of teats for the different stages of your babies life. We bought the small bottles which had the small teats on them, and then when Natalie was able to have more than 4oz in one sitting we had to buy some 9oz bottles. We now realised we could have saved a lot of money by just buying the big bottles from the beginning, and buying smaller teats separately to use on them! Think carefully before buying as we now have lots of small bottles that are completely useless to us!
When you get to the weaning stage....
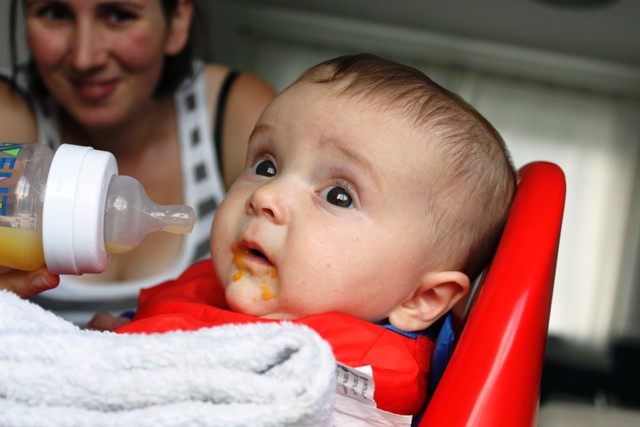
8. High Chair (Chair, tray & cushion £20.48 from Ikea)
Ikea do a great
high chair made of one piece of moulded plastic with 4 metal legs that pop in the bottom. You can buy a
tray separately and an
inflatable cushion to help your baby sit upright more easily. Why do I love this high chair? Because it's so easy to clean - just one wipe and you're done, there are no creases for food to get stuck in! The tray is nice and big too, with a good sized lip around the edge to stop things falling off so easily. The fact that the cushion is inflatable means you can deflate it as your baby gets bigger! The whole thing is really easy to transport too as the legs pop out with the push of a little button.
9. Shallow Spoons
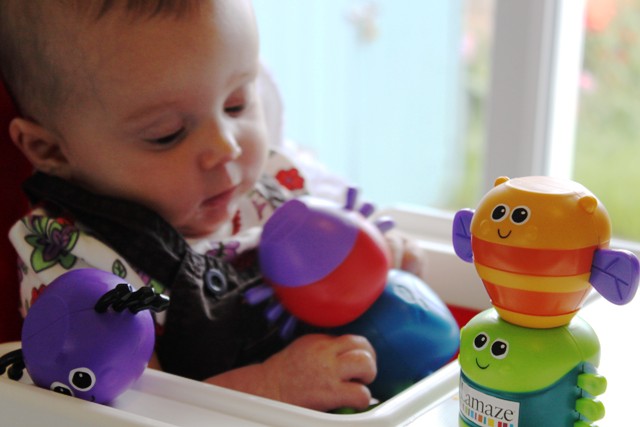
When your baby starts eating from a spoon they're not great at getting the food off because they dont normally have teeth to help! The best spoon we found is from a set that Ikea sell (consisting of a
frog bowl, bib, beaker and spoon), but a close second best are a
set of 6 spoons from Ikea (£1.49 for the set) - they're very shallow and have an angled handle so they're really easy to use.
10. Bowls (91p for 6 from Ikea - Bargain!)
What more can I say - they're colourful and very cheap! We only bought one
set of 6 but I'd recommend getting a couple of sets as we use them for all sorts of things!
11. Hand Blender
Save yourself a lot of washing up by using a hand blender instead of a full size food processor to purée food for your baby. We use one I got about 10 years ago but
Argos do a few cheap ones!
12. Lidded Ice Cube Trays
When you make a batch of baby food it's a great idea to freeze it in an ice cube tray - we use 2 cubes worth for one portion. I came across these trays in a Poundshop in Cambridge - the lids are great to stop your baby food getting contaminated in the freezer.
13. Bag Clips (£1.99 for 30 from Ikea)
Once the baby food is frozen I pop it out and store it in a plastic bag, labelled with the date and contents, and sealed with one of these great little
bag clips. Bagging them up frees up your ice cube tray, and the clips just make it a lot quicker to get a couple of cubes out when you need them - I started just sealing the bags with the little plastic coated wires that come with the bags, but I found it was a bit of a faff undoing and doing it up again each time.
14. A Rain Mac with a Hood
You may think this is a strange thing to have on the list, but after battling with an umbrella on a rainy trip to the supermarket one day, I've realised that umbrellas weren't designed to be compatible with pushchairs! The pushchair itself has a rain cover so Natalie was nice and protected but I was having a tough time trying to hold my umbrella in one hand and steer the pushchair with the other, whilst avoiding the puddles (and the curb, and the wall...)! So I've decided a rain mac is the way to go. I dont have one yet but it'll be going on my Birthday/ Christmas list!
So there you have it, my list of items that have kept me sane through the first 6 months of Natalie's life. Hope it's helpful to any new or expectant parents out there!
(wow, this has turned out to be a very long post - sorry about that!)